自定义AI智能体快速入门
AutoDev@1.7.0
自 AutoDev@1.7.0 版本起,我们支持自定义AI智能体,您可以将自己的AI智能体集成到AutoDev中。
自定义AI智能体配置
- 在
Settings->Tools->AutoDev中打开AutoDev配置,选择Custom Agent - 勾选
Enable Custom Agent - 在
Custom Agent Config文本框中填写JSON格式配置 - 点击应用并确定
- 关闭AutoDev面板后,在工具窗口点击
NewChat
配置示例
演示配置:
[
{
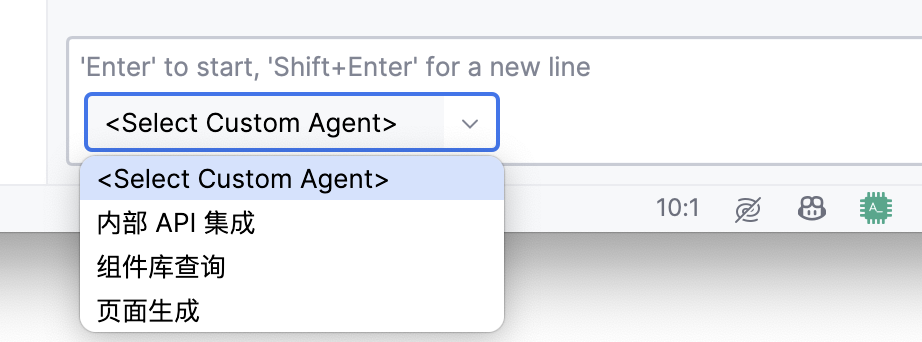
"name": "内部 API 集成",
"description": "在一个组织或项目中,不同系统或组件之间的通信接口。",
"url": "http://127.0.0.1:8765/api/agent/api-market",
"responseAction": "Direct"
},
{
"name": "组件库查询",
"description": "从组件库中检索特定的 UI 组件,以便在开发的应用程序中使用。",
"url": "http://127.0.0.1:8765/api/agent/component-list",
"responseAction": "TextChunk"
},
{
"name": "页面生成",
"description": "使用 React 框架,基于组件和状态来生成页面。",
"url": "http://127.0.0.1:8765/api/agent/ux",
"auth": {
"type": "Bearer",
"token": "eyJhbGci"
},
"responseAction": "WebView"
},
{
"name": "DevInInsert",
"description": "Update,並指定20秒的timeout時間",
"url": "http://127.0.0.1:8765/api/agent/devins-sample",
"responseAction": "DevIns",
"defaultTimeout": 20
}
]
Dify 示例
{
    "name": "DifyAI",
    "description": "Dify 示例",
    "url": "https://api.dify.ai/v1/completion-messages",
    "auth": {
      "type": "Bearer",
      "token": "app-abcd"
    },
    "connector": {
      "requestFormat": "{\"fields\": {\"inputs\": {\"feature\": \"$content\"}, \"response_mode\": \"streaming\", \"user\": \"phodal\" }}",
      "responseFormat": "$.answer"
    },
    "responseAction": "Stream"
}
Coze 示例
[
  {
    "name": "CozeAI",
    "description": "Coze 示例",
    "url": "https://api.coze.cn/v3/chat",
    "auth": {
      "type": "Bearer",
      "token": "xxx"
    },
    "connector": {
      "requestFormat": "{\"fields\":{\"stream\": true, \"user_id\": \"user\",\"bot_id\": \"749xxx\",\"additional_messages\": [{\"role\": \"user\", \"content_type\":\"text\", \"content\": \"$content\" }]}}",
      "responseFormat": "$[?(@.type == 'answer' && !(@.created_at))].content"
    },
    "responseAction": "Stream"
  }
]
响应动作类型
enum class CustomAgentResponseAction {
    /**
     * 直接显示结果
     */
    Direct,

    /**
     * 流式响应
     */
    Stream,

    /**
     * 文本分块结果
     */
    TextChunk,

    /**
     * 在WebView中显示结果
     */
    WebView,

    /**
     * 通过DevIns语言在代码块中编译执行
     * @since: AutoDev@1.8.2
     */
    DevIns
}
交互类型
enum class InteractionType {
    ChatPanel,
    AppendCursor,
    AppendCursorStream,
    OutputFile,
    ReplaceSelection,
    ReplaceCurrentFile,
    ;
}